A self-portrait
A self-portrait is not a selfie. No mirror-shots or duck-faces allowed, and no clear evidence of one arm outstretched. A self-portrait is not simply about looking as good as you can, it’s about hinting at the story of you, and the work you do.
In this activity, we are going to go ahead and take some photographs of you that you can use in your various communications. I realise this idea sits uncomfortably with a lot of us: many people (myself most definitely included!) are not particularly happy being in front of the camera, and would rather avoid it if we possible could.
Your homework for this activity is not in your workbook. Instead, I challenge you to pick up a camera (or smart phone) and take some portrait photographs of yourself. Today!
Go ahead right now, or read on if you need encouragement or advice (or both).
Why you need photographs of yourself
But here are some reasons why it is important for you to have a handful of on-brand photographs of yourself among your suite of content.
People engage with people: you are not a mega-corporation, and being small and personal is one of your superpowers - people will want to engage with you! But for them to engage with you as a person, you need to show up as a person. Let them see your lovely face
This is doubly so if you want people to learn from you or come to your events (either online or in person): people will feel more as though they know you if you share your photograph
When it comes to social media bio pictures, research shows that people consistently engage better with brands that can show personal faces, rather than logos. This will especially work for you if you are the person behind your business or brand
Later in Let it Grow we will look at ways of getting your message out into the world, and that includes pitching to traditional media, podcasters and bloggers. You’ll find that when this happens, these publications often ask for a photograph of you that they can share when they introduce you - it helps if you have some handy that are on-brand, and that you don’t hate!
Permission to be creative
Because you’re taking a self portrait, not a selfie, you have permission to get a little creative with your self-portrait. Of course, you still need to keep things on-brand (don’t photoshop yourself floating dreamily through a forest if your brand is corporate and conservative!), but there is room to be creative within reason.
First and foremost, you don’t have to stick to what I call “boardroom headshots”. You know the ones, taken for annual reports, sitting at three-quarters and smiling over one shoulder, in bold colours, against a studio backdrop.
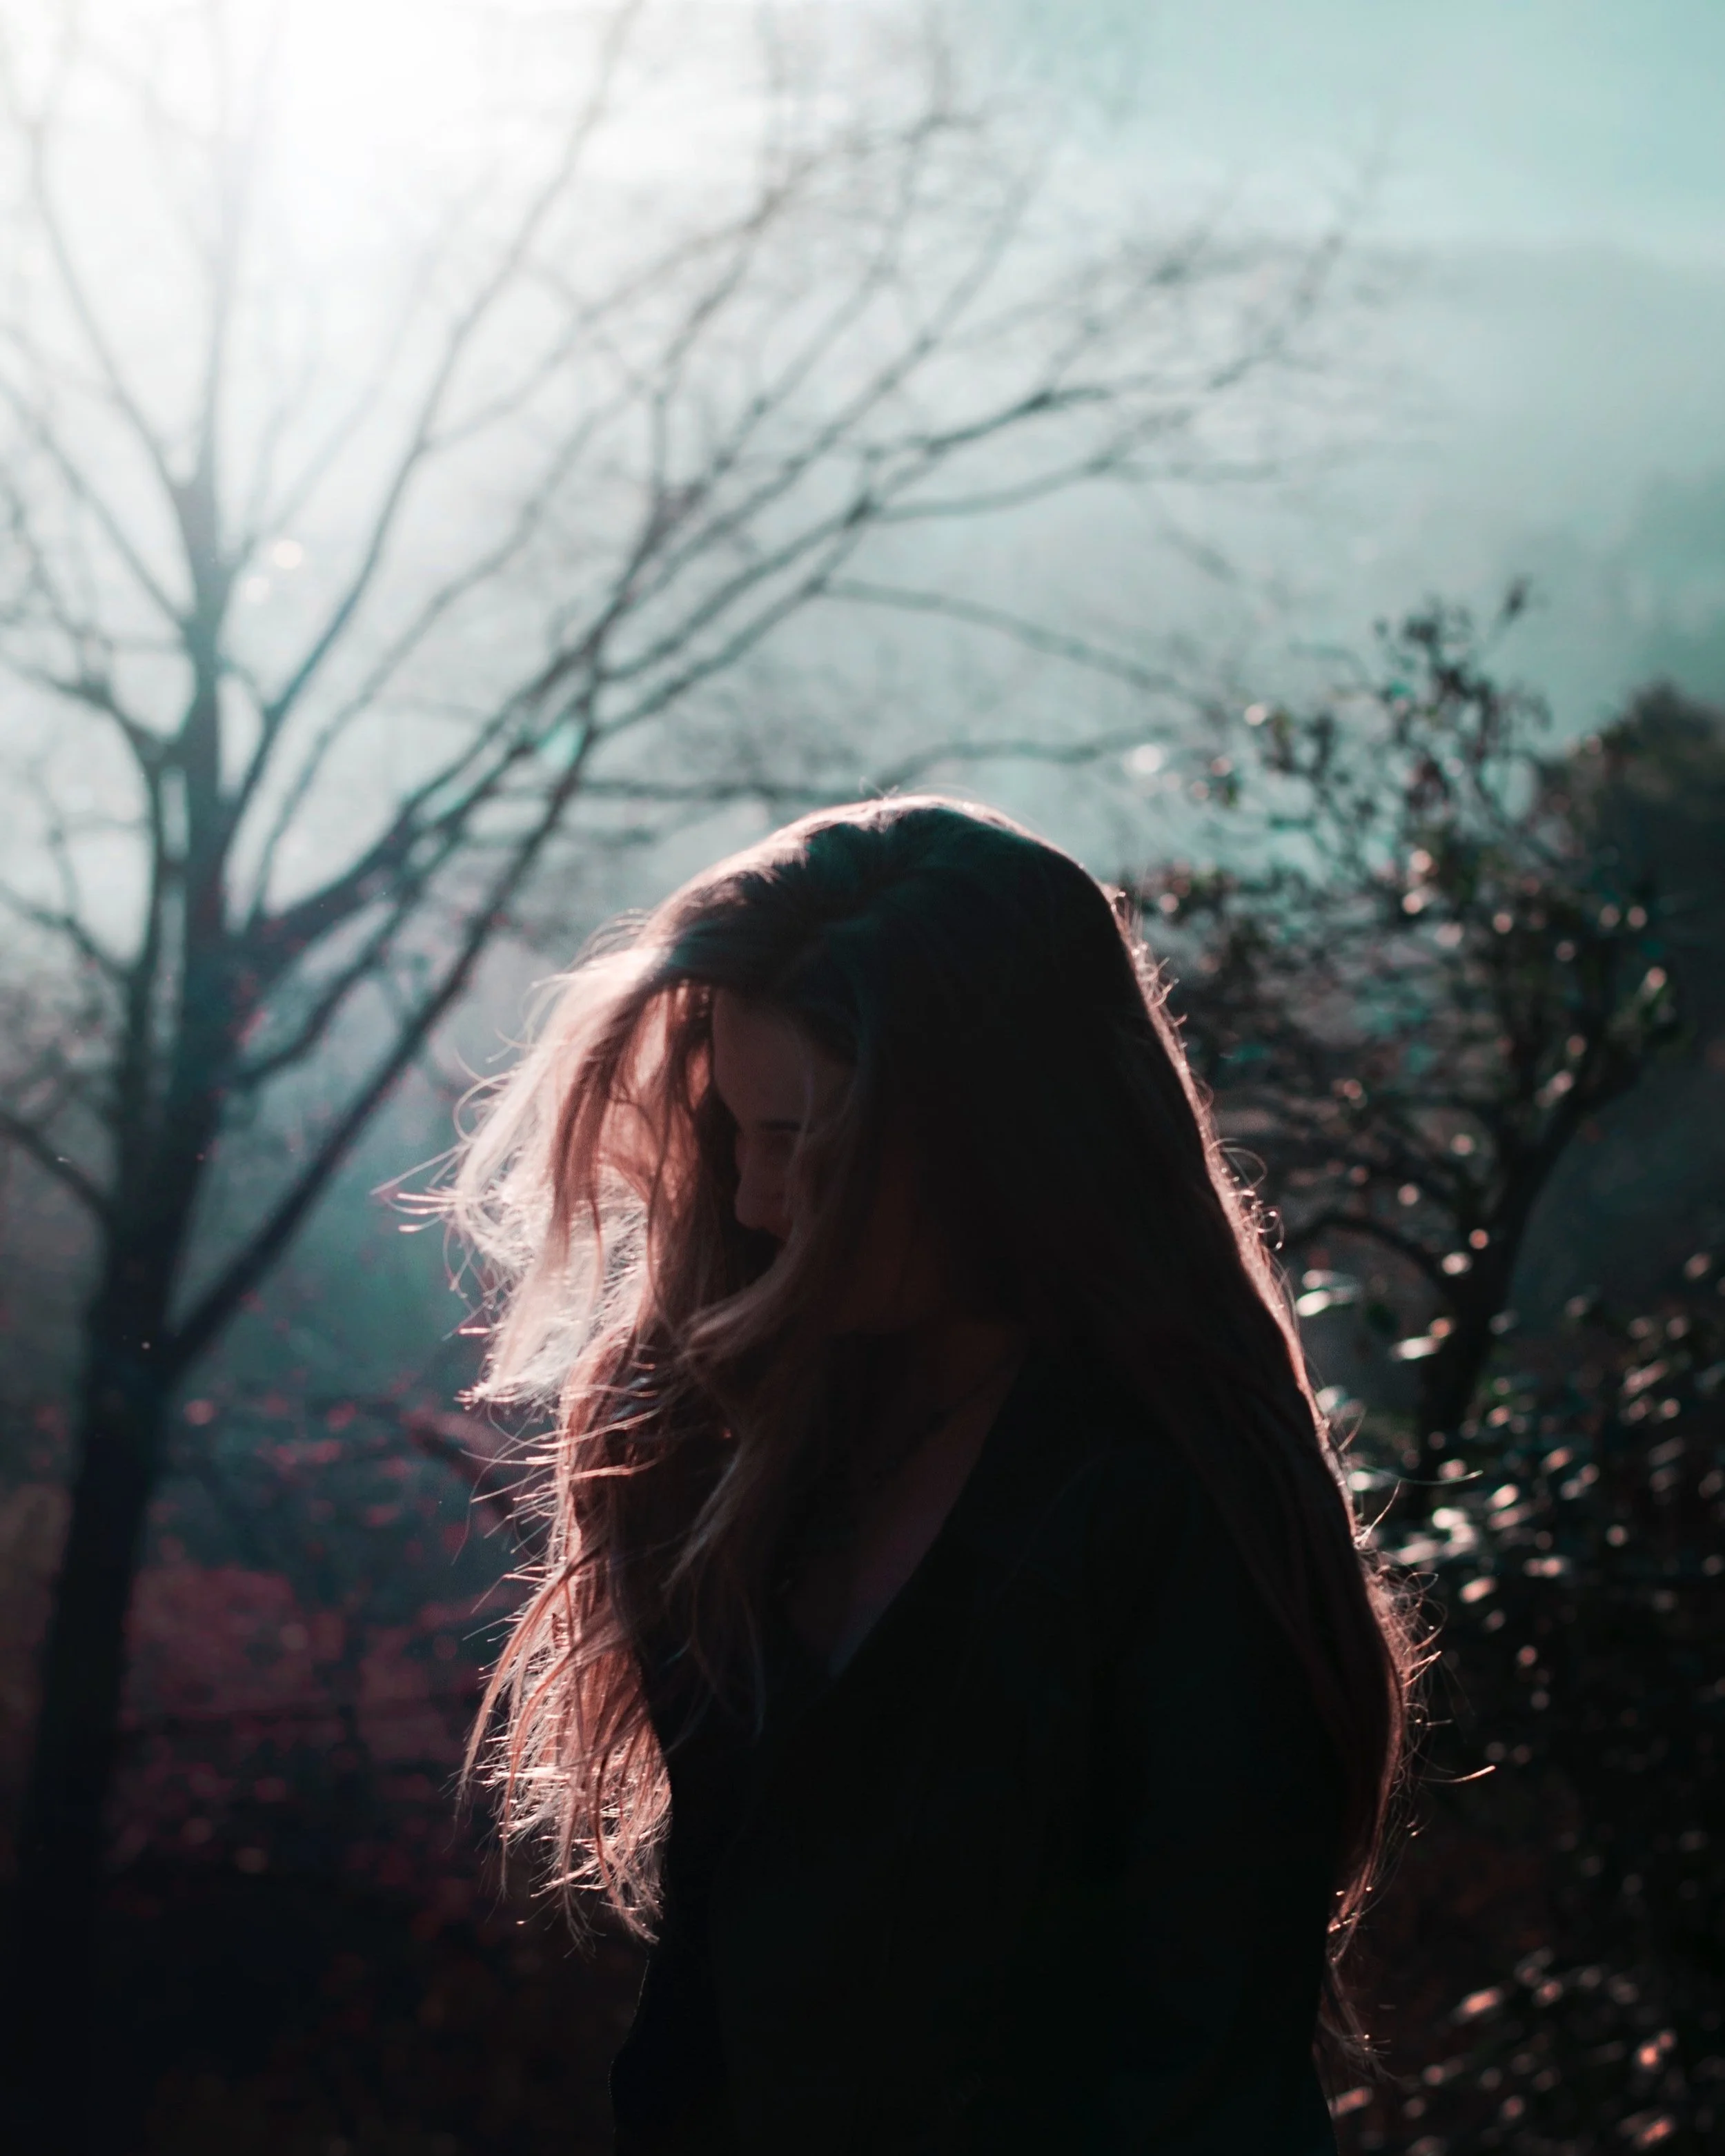
You get to choose what you wear, your setting (see “choose a location” for tips), and the parts of you that show. Maybe you want your whole body, sitting or standing, in the shot. Maybe you want to remain half-hidden, glancing back at us over half a shoulder, peering up over a book, or through a giant bunch of flowers.
Where to find inspiration and help
Take some time right now to search for portraits (self or otherwise) that you admire, and pull them together for inspiration. Perhaps you could start a Pinterest board to jog your thinking? Here is a link to my own “creative portraits” Pinterest board: it’s certainly not corporate, and it might not suit your brand, but maybe you’ll see something in there that helps inspire ideas of your own.
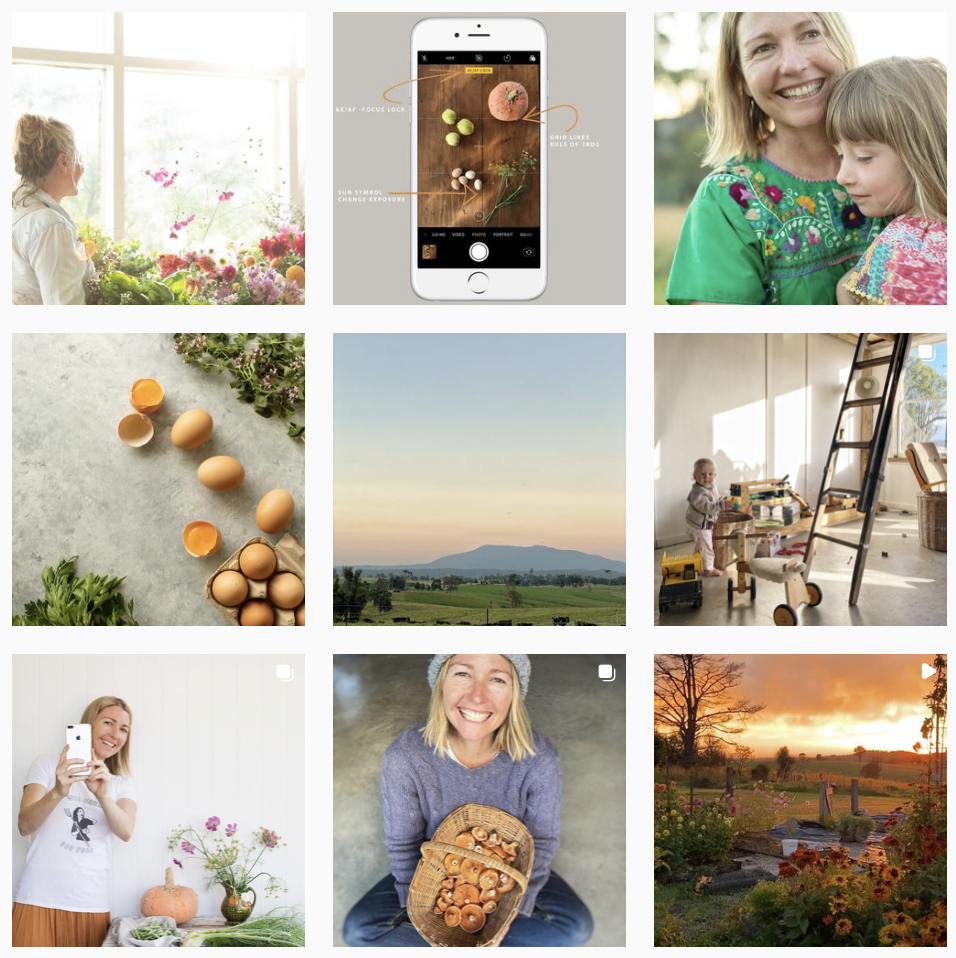
To further spark your creative thinking, I’ve shared some people on Instagram who I think are doing a clever job of self portraits (some of them more creative than others).
When you are ready, have a go at taking handful of photographs of yourself that you can use on your website, social media, traditional media, and more.
Be sure you are mindful of your mood-words, visual style and colour palette when you plan your self portraits, then have some fun! If you have the time, try taking a few different photographs in different locations and different outfits, just to give you more options.
I’ve shared some general tips below in case you have questions or need a hand, and this article from Canva may also help.

@ziqianqian

@me_and_orla
@honeyatkinson
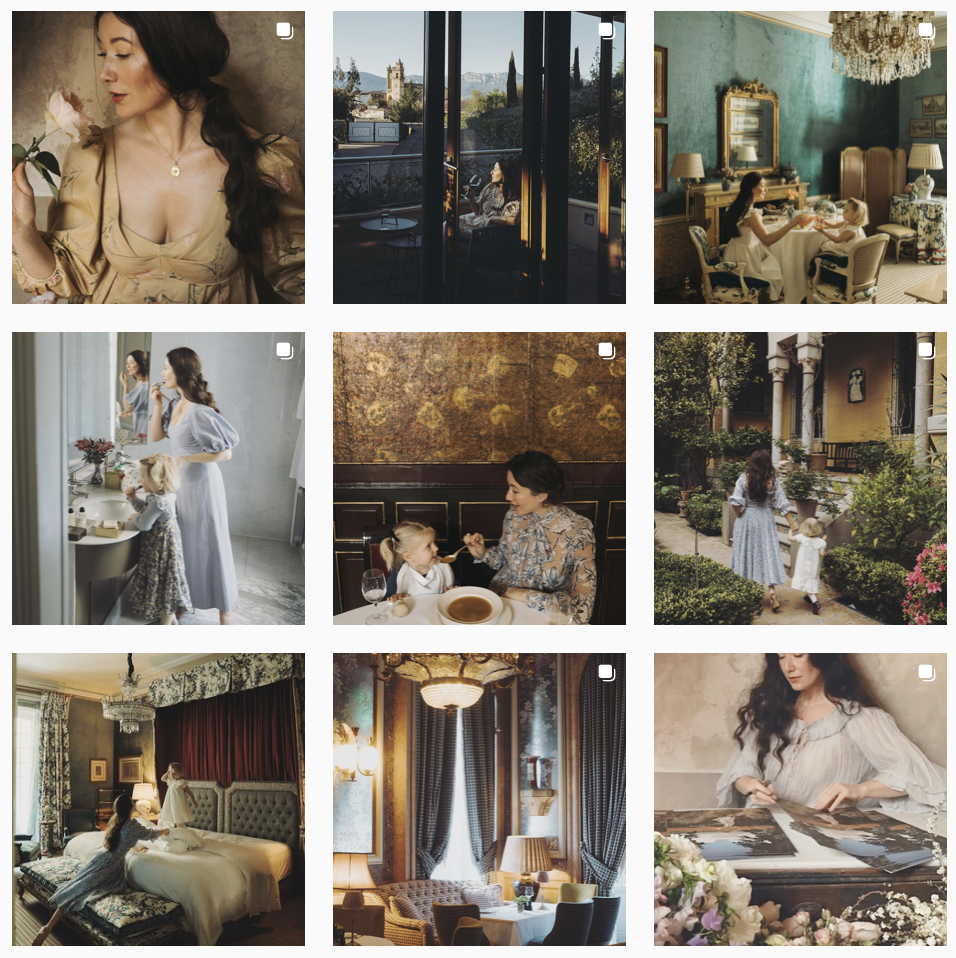
@jamiebeck.co

@frombeewithlove
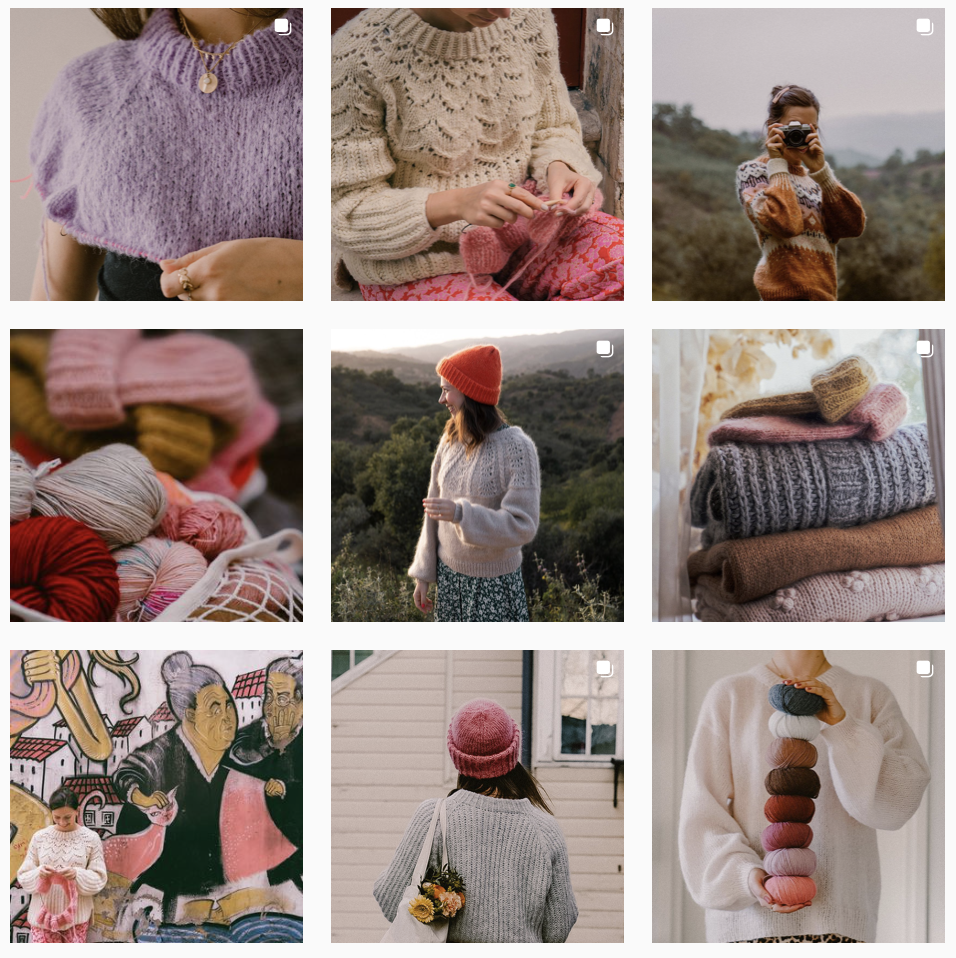
@kutovakika
Tips on branded self-portraiture
-
How to DIY a portrait
Camera or ‘phone? In preparing these tips, I’m assuming you don’t have (or want to buy) expensive cameras and equipment. Of course, you can use these, but I want you to feel reassured that you don’t need to.
All of the tips that follow are appropriate for cameras and smart-phones, so work with what you have. Don’t feel the need to spend up.
Tripod alternatives: You’ll need to keep your camera nice and still, and be able to prop it at the right height and angle for your portrait. Use a tripod if you have one, or get creative: over the years, I’ve propped up my phone in a drinking glass, leaned it on books, and used blu-tac and masking tape to stick it to a wall.
A few years ago I invested in a gorilla grip stand, which I love because I can clasp it to just about anything: the handles of kitchen cupboards, fence posts, window shutters, and more.
Timer & focus: if you have a remote shutter, use that. If not, you’ll need to set the timer on your phone or camera, and dash back into place ready for your photo. Some tips:
Take lots of “practice shots” to get the light and background just right
When you’re happy, mark the spot on which you’re to stand or sit with an X
Find something to stand in for you at exactly the height of your face (in the past I’ve used a mop, and a giant teddy). Focus your camera on that item, then lock the focus in place. Now, when you remove the mop/teddy and step Into place, your face will still be in focus. (To lock the focus using iPhone, tap the screen where you want to focus, and hold your finger down to lock it in place)
-
Locations
Stay on-brand: Choose a location that suits your brand’s visual style. Look at the types of content you are sharing in your style, and pick somewhere that feels consistent to those. If you’re a maker, photographing yourself in your studio / kitchen / workshop always works well.
If inside: Seeing a person's home and belongings is usually more informative than looking at their face. For a more intimate portrait, consider including personal details like pots and ingredients you’re cooking with, plants on the windowsill, or a stack of books you've been reading.
If outside: Stepping into an outdoor scene is a great way to make a self-portrait more engaging, while also documenting yourself in a beautiful place. Decide whether you want to blend in (eg. half hidden in trees) or stand out, and think about the colours you wear and your backgrounds, accordingly
Follow the light: If shooting inside, always use natural light (unless you’re in a studio). Turn off all the lights and sit near a window / open door. Unless it’s super dark, you’ll be surprised how much light you capture in the photo - just have it still eg on a tripod. When photographing self-portraits inside, try shooting near a large window.
If shooting outside, choose a cloudy day, or shoot in the morning or evening. The harsh midday sun creates strong shadows and is less interesting: your goal is to have the light softly illuminating all around you, or flowing in from the side.
-
What to wear
Over and above everything else, you should feel comfortable and confident in the clothes you wear for your self portrait. There’s no point feeling awkward from the very beginning! Aside from that, here are some extra considerations:
Your work: If what you do involves anything face to face or on screen (for example, you teach baking), wear in your photos what you’d wear when face to face with clients, so there’s no disconnect (don’t wear a flowy princess dress in photos if you present in a suit to clients)
Visual style: Think about your visual style and mood words, and try to be consistent. This isn’t rocket-science: if one of your words is “natural” or “organic,” don’t dress in polyester metallics
Colour palette: Think about your colour palette (again, it shouldn’t be tricky): if your palette is made up of neons and brights, don’t wear neutrals in your photo shoot
Solid colours are best: Avoid patterns, as they distract from your face; and stay away from logos and writing as these detract from your message, and will look even more strange if you need to mirror-reverse your portrait
What else: Long sleeves work better, as too much skin detracts from your face; avoid anything too baggy or too tight - just go for “fitting comfortably” - and make sure you’ve taken your keys and phone (etc) out of your pockets before you click: no awkward bulges
And don’t forget to launder and iron your clothes first!
Make up: I’m reliably told (by photographers) that the camera can wash out our faces, and that make up looks different in the camera than it does in real life. I’m also terrible at applying my own make up! Here’s a fairly simple guide to applying make up for portraits, if it’s something you’d like to learn
-
How to pose
I’ve included this section in case you feel as awkward in front of the camera as I do. Because there’s no need to stare down the barrel of the camera with your shoulders set at three-quarters. There are many other options!
Moments from life: Some of the best self-portraits capture moments from everyday life. Photograph yourself cooking dinner, commuting to work or spending time with friends. You’ll feel more comfortable, and it will probably be more on-brand
Relax: In general, you should try to be poised, but relaxed. Try not to slouch, but there’s no need to have your back poker-straight. Engage your core and use your stomach muscles to hold you comfortably upright.
Create space: Create some space for your arms and legs, rather than squishing them against furniture or against your body. Separate your arms from your torso a little, and try to lift your legs ever-so-slightly from the chair if you’re sitting down, so they don’t looked squashed.
Create curves: If you want to take this posing thing even further, try creating curves with your body. This may mean turning a little, leaning your weight on one leg if you’re standing, raising a knee if you’re reclining, or putting one arm or leg slightly in front of the other.
Pull faces in the mirror: Try to choose expressions that help to convey your mood-words (everything is consistently branded - even your facial expressions!). In most cases, it’s your expression and body language that will influence the mood of your self portrait.
For example, if your brand is “joyful,” don’t pose with downcast eyes and a pensive expression. If you want to welcome, support or advocate your right people, don’t pull a haughty model face (even if you think you look good doing it)
-
Composition
Follow the rule of thirds: Place the subject of the photo (most likely you!) in the left or right third of the image, leaving the other two thirds more open. This makes your photograph much more interesting than if you are in the middle.
Face the open space: If you are facing left or right in the picture, frame it so that you are facing the two-thirds area, not the single-third area. This gives the impression that there is more to the image, whereas the other way makes you look caged in.
Straighten the lines: Often we cause accidental angles and warped perspectives in our photographs. It’s funny how we don’t see this when we’re taking the photograph, and only when we look back on it do we see skewed window frames, funny angles on the floorboards, strange table corners, and the like. If it helps, turn on the “grid” view on your phone or camera to align your photograph properly.
Remove distractions: Unless you want the background to be part of the story you’re trying to tell with the photo, showing too much of your environment can also be distracting, especially when the objects are unidentifiable or don't impart any relevant information about the portrait subject. Remember to remove unnecessary clutter, and look out for things behind you that might distract.
Aim for negative space: Think about ways that you can incorporate a decent amount of negative space into your photograph. This doesn’t only have to be “white” space, just any space that represent the absence of anything else that is going on.
Shoot square: When you’re framing up your photograph, imagine it cropped square, rather than in portrait or landscape modes. Shooting it this way gives you the opportunity to crop it any way you like later on, without having to cut out important sections of your portrait
-
Shooting & editing
When you’re ready to shoot, alongside light and composition, there are some simple tools you can use to make your self-portrait look more professional, and to help convey the mood you want to convey.
Depth of field: You know those portraits that have a person or thing in focus, and everything else in the background is blurred? That’s a nice way to make you stand out from your surroundings, and there are a few ways you can do this:
If you’re using a DSLR camera, use a low f-stop setting to create a shallow depth of field
On some recent smartphones, you’ll be able to replicate this by using “Portrait” mode. If your smartphone doesn’t do this, look up camera apps that allow you to change the f-stop
As a last resort, you can create the illusion of this when editing. Apps like VSCO or even the edit mode on Instagram allow you to blur the background around the subject of an image
Editing and filters: I use the free photo editing app on my iPhone, or VSCO, to gently edit my photographs after I take them. Usually, that means slightly toning down the white balance because I prefer photos with a cooler light, and sometimes adjusting the exposure and contrast up or down.
Try to keep things consistent, particularly anywhere that many of your photographs can be compared to one another, such as on Instagram or your website. If you like warm light, stick to yellow tones. If you like cool light, stick to the blues.
And finally, if you want to apply filters for social media, do so sparingly. Gone are the days of heavy Instagram filters. If you choose to use one these days, be sure to dial it down so it doesn’t look too unnatural